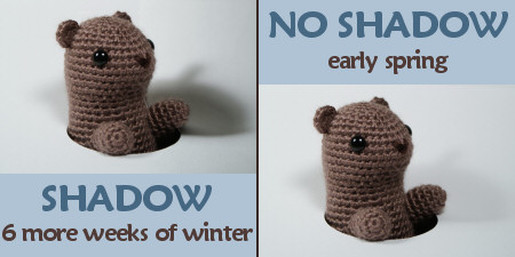
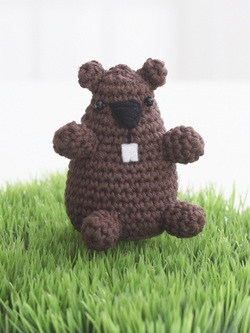
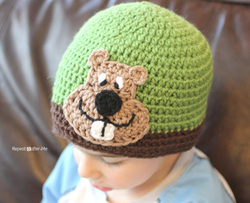
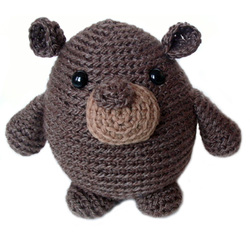
Snapshots of this past week's happenings at Heritage Heartcraft! Each photo links to the full story.
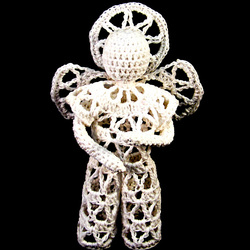
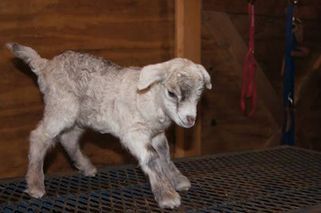
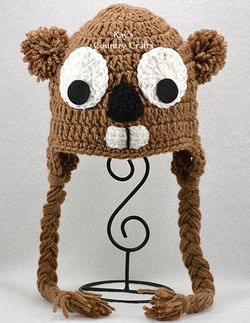
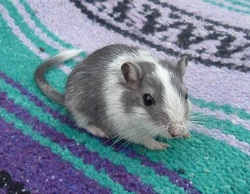 A new shop mascot? | 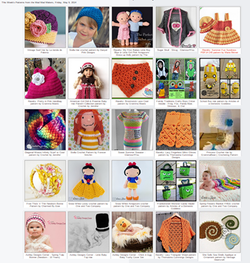 Patterns from the Mad Makers! |  Mother's Day Gift |
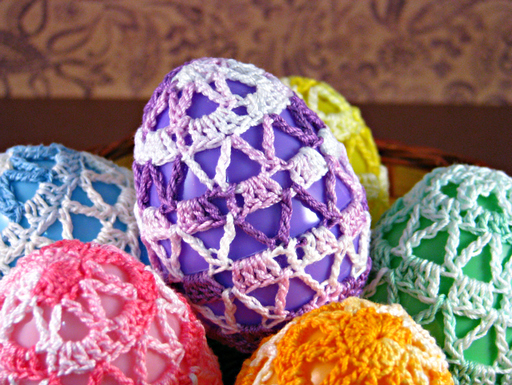
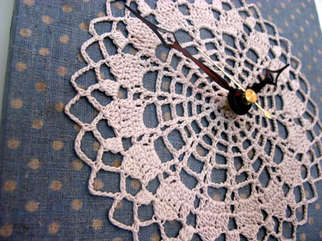
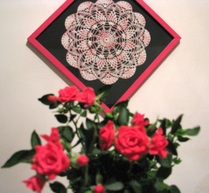
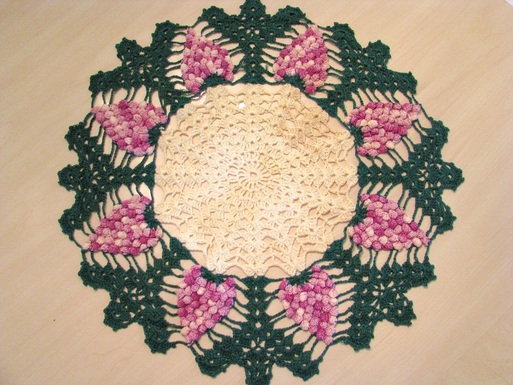
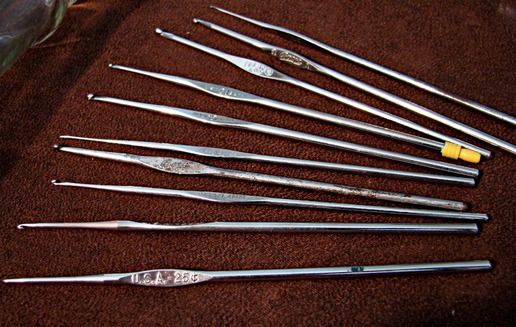
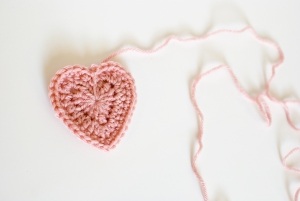
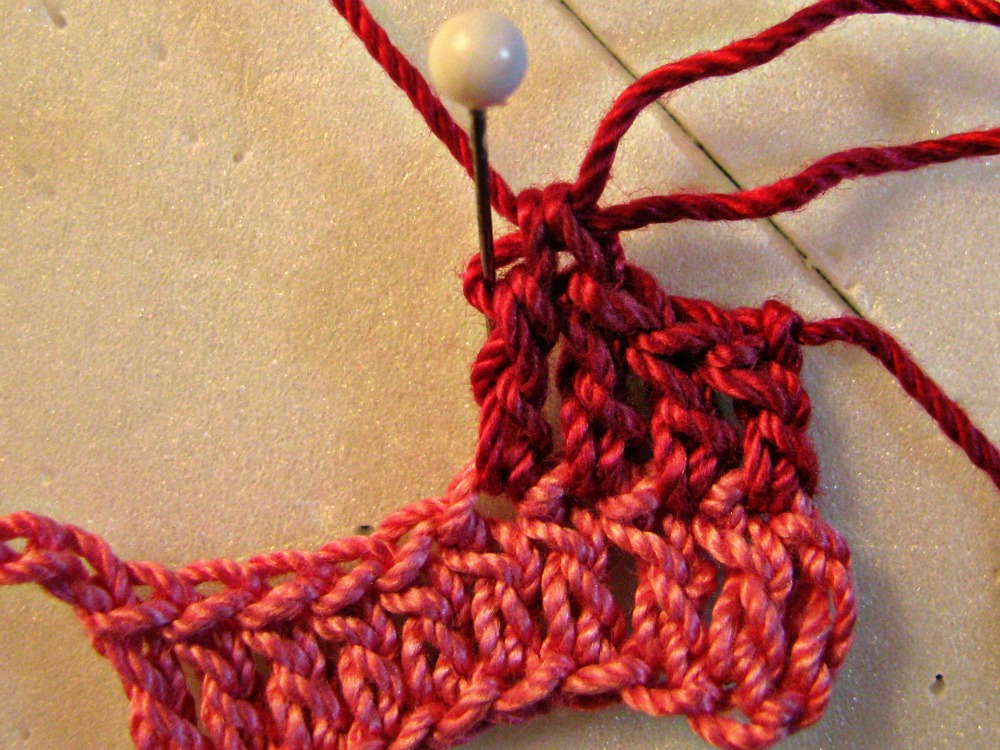
 Pretty and Practical | 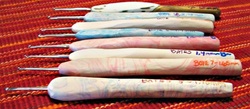 Old Hooks with new handles | 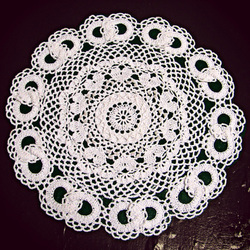 Wedding Beauty |
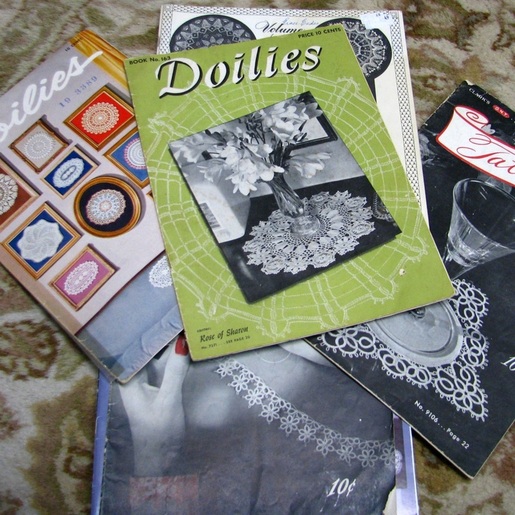
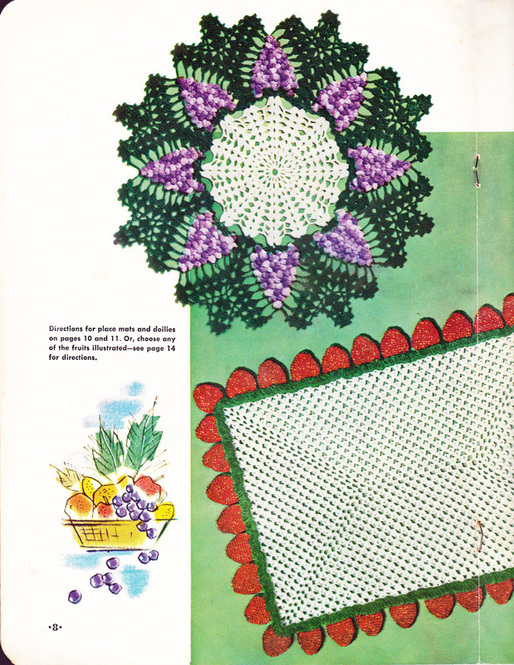
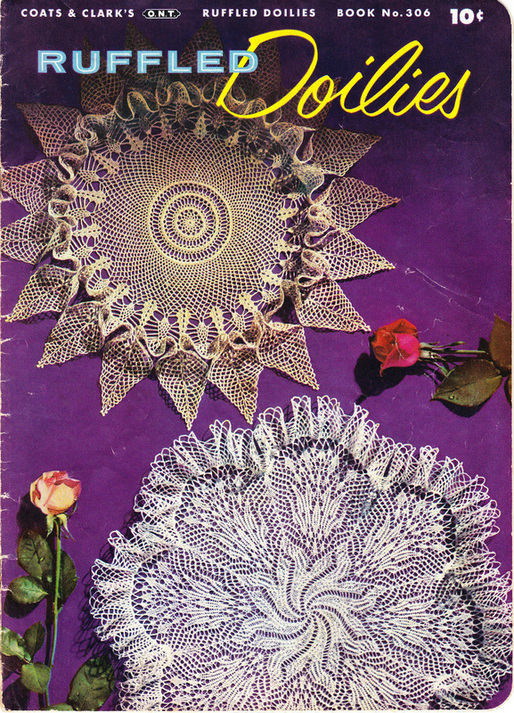
 More Maker designed patterns | 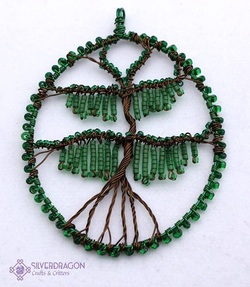 A Favorite find from Silverdragon |  Handcrafted Products from the Mad Makers |